


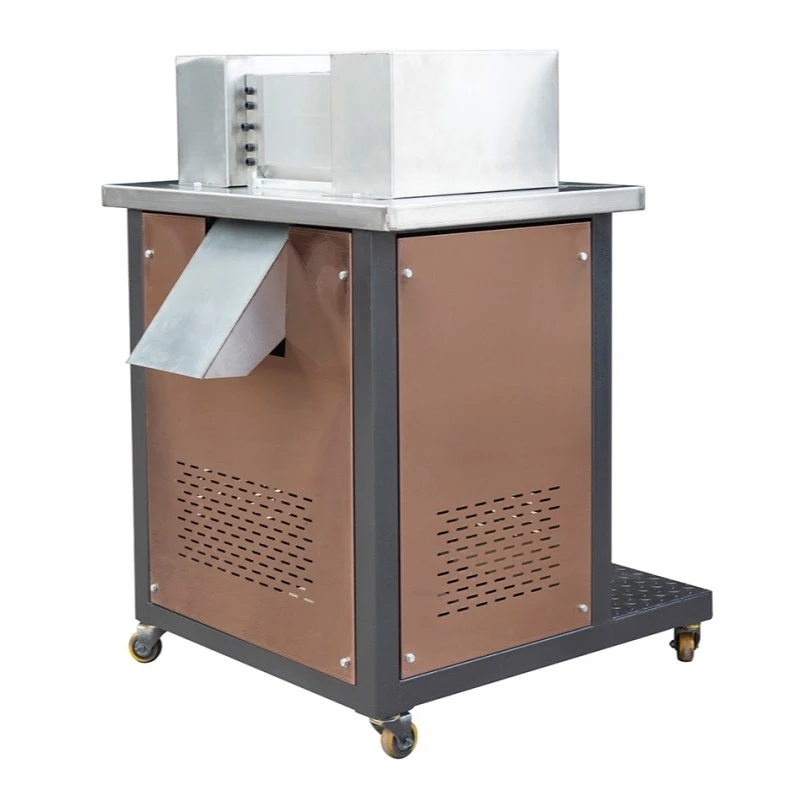
Installing a closed chamber pelletizer can be a complex but rewarding process. As a trusted supplier of closed chamber pelletizers, I am here to guide you through the installation steps, ensuring a smooth and efficient setup. In this blog post, I will provide you with a comprehensive guide on how to install a closed chamber pelletizer, covering everything from preparation to final testing.

Preparation
Before you begin the installation process, it is essential to gather all the necessary tools and equipment. Here is a list of items you will need:
- Wrenches and screwdrivers: Various sizes of wrenches and screwdrivers will be required to assemble and secure the pelletizer components.
- Lifting equipment: Depending on the size and weight of the pelletizer, you may need a forklift or crane to lift and position the machine.
- Electrical tools: A multimeter, wire strippers, and electrical tape will be needed for electrical connections.
- Safety equipment: Safety glasses, gloves, and ear protection are essential to protect yourself during the installation process.
In addition to the tools and equipment, you should also ensure that you have a suitable installation location. The location should be well-ventilated, have a stable foundation, and be easily accessible for maintenance and operation.
Step 1: Unpacking and Inspection
Once you have gathered all the necessary tools and equipment and identified a suitable installation location, the first step is to unpack the closed chamber pelletizer and inspect the components for any damage or defects. Carefully remove the pelletizer from its packaging and check for any signs of damage during transit. If you notice any damage, contact the supplier immediately to arrange for replacement parts.
Step 2: Assembly
After inspecting the components, it is time to start assembling the closed chamber pelletizer. The assembly process may vary depending on the specific model and manufacturer, but the following general steps can be followed:
- Base installation: Start by installing the base of the pelletizer on the prepared foundation. Use the appropriate fasteners to secure the base in place.
- Frame assembly: Assemble the frame of the pelletizer according to the manufacturer's instructions. Make sure all the components are properly aligned and tightened.
- Hopper installation: Install the hopper on top of the pelletizer frame. Connect the hopper to the feeding system and ensure a tight seal.
- Cutting unit installation: Install the cutting unit in the pelletizer. This unit is responsible for cutting the plastic material into pellets. Follow the manufacturer's instructions for proper installation and alignment.
- Motor and drive installation: Install the motor and drive system according to the manufacturer's instructions. Connect the motor to the cutting unit and ensure proper alignment.
- Electrical connections: Connect the electrical wiring to the pelletizer according to the electrical diagram provided by the manufacturer. Use a multimeter to check the electrical connections and ensure they are secure.
Step 3: Alignment and Adjustment
Once the pelletizer is assembled, it is important to align and adjust the components to ensure proper operation. Here are some key areas to focus on:
- Cutting blade alignment: Ensure that the cutting blades are properly aligned with the cutting chamber. This will ensure clean and efficient cutting of the plastic material.
- Feeding system adjustment: Adjust the feeding system to ensure a consistent flow of plastic material into the pelletizer. This will help prevent clogging and ensure uniform pellet production.
- Motor speed adjustment: Adjust the motor speed to match the requirements of the plastic material being processed. This will help optimize the pelletizing process and ensure high-quality pellets.
Step 4: Testing and Commissioning
After the alignment and adjustment are complete, it is time to test the closed chamber pelletizer. Follow these steps to ensure a successful test:
- Power on the pelletizer: Turn on the power supply and check that all the electrical components are functioning properly.
- Start the feeding system: Start the feeding system and gradually introduce the plastic material into the pelletizer. Monitor the flow of material and adjust the feeding rate as needed.
- Monitor the pelletizing process: Observe the pelletizing process and check for any signs of abnormal operation, such as excessive vibration or noise. If any issues are detected, stop the pelletizer immediately and troubleshoot the problem.
- Collect and analyze samples: Collect samples of the pellets produced by the pelletizer and analyze them for quality. Check the size, shape, and density of the pellets to ensure they meet the required specifications.
Step 5: Maintenance and Troubleshooting
Once the closed chamber pelletizer is installed and tested, it is important to establish a regular maintenance schedule to ensure its continued operation. Here are some key maintenance tasks to perform:
- Cleaning: Regularly clean the pelletizer to remove any plastic residue or debris. This will help prevent clogging and ensure efficient operation.
- Lubrication: Lubricate the moving parts of the pelletizer according to the manufacturer's recommendations. This will help reduce friction and extend the lifespan of the components.
- Inspection: Regularly inspect the pelletizer for any signs of wear or damage. Replace any worn or damaged components as needed.
In addition to regular maintenance, it is also important to be prepared to troubleshoot any issues that may arise. Here are some common problems and solutions:
- Clogging: If the pelletizer becomes clogged, stop the machine immediately and remove the blockage. Check the feeding system and ensure a consistent flow of material.
- Excessive vibration: Excessive vibration may indicate a misalignment or loose component. Stop the machine and check the alignment and tightness of the components.
- Poor pellet quality: Poor pellet quality may be caused by a variety of factors, such as incorrect cutting blade alignment or improper feeding. Check the alignment and adjustment of the cutting unit and feeding system.
Conclusion
Installing a closed chamber pelletizer requires careful planning, preparation, and attention to detail. By following the steps outlined in this blog post, you can ensure a successful installation and operation of your pelletizer. If you have any questions or need further assistance, please do not hesitate to contact us for procurement discussions. We are here to help you every step of the way.
References
- Manufacturer's installation manual for the closed chamber pelletizer.
- Industry best practices for pelletizer installation and maintenance.


